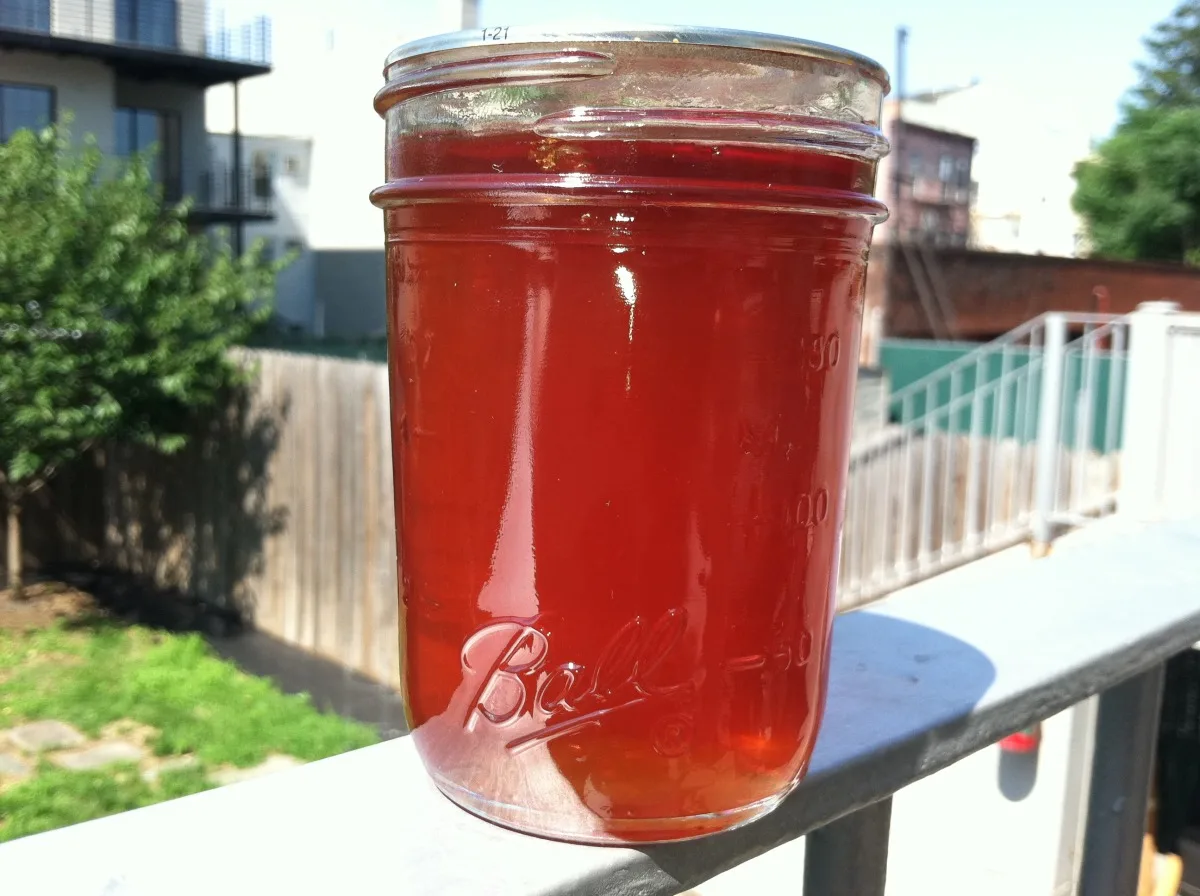
Pepper Jelly
Per serving
I adapted this pepper jelly from two separate recipes by Liana Krissoff and Elise Bauer. This recipe doesn't use commercial pectin, instead you make a juice out of Granny Smith apples, plums, and cranberries. The apples and cranberries provide the pectin, and the plums give the jelly a nice color. The fruits also give the jelly a great flavor, which I think makes this jelly a bit more special than the usual pepper jelly. This jelly can be made as hot as you like. If you don't want it to be hot at all, just leave out the jalapenos. The amount I have listed here, 1/2 cup of chopped jalapenos, makes a jelly which is mildly hot, by which I mean you will be able to tell that there are jalapenos in it, but I think it would still be edible by most people. It is not the kind of hot that die-hard c…
Ingredients
Step-by-step instructions
- 1
Cut the apples into eighths - do not remove the cores or the seeds, you need these to supply pectin.
- 2
Slice the lemon - the whole lemon, do not discard the rind, pith, or seeds.
- 3
Place the apples, jalapenos, red bell pepper, plums, cranberries, and lemon in a large stock pot with the vinegar and water. Bring to a boil, then reduce heat to medium-low and simmer for 30 minutes.
- 4
Strain the apple mixture through a very fine sieve or a jelly bag. If you want a clear jelly, do not press down on the mixture or squeeze the bag. If you don't mind a cloudy jelly, you can press or squeeze all you like.
- 5
Let the mixture drain for at least 30 minutes or as long as overnight, if you like. After the mixture has finished straining, measure out 6 cups of juice. If you don't have 6 cups of juice, add water to the juice to make 6 cups.
- 6
If you have more than 6 cups of juice, freeze it to use later. Do not try to make more than the amount called for in this recipe, or you may not be able to get the jelly to set.
- 7
Place 3 small saucers in the freezer - you will use these to check the set of the jelly.
- 8
Pour the 6 cups of juice into a preserving pan. If you do not have a preserving pan, use the widest pan you have. The wider the pan, the more quickly moisture will evaporate from the mixture, and this is what you want when you are making jelly or jam.
- 9
Add 4 1/2 cups sugar and the butter to the juice in the pan (the butter is to reduce foaming). Bring to a boil over high heat, stirring to dissolve the sugar.
- 10
Cook over medium-high heat for 20 minutes.
- 11
After 20 minutes of cooking, check the set (it may take up to 30 minutes of simmering over medium high heat for the jelly to reach the set stage - it depends on what kind of pan you are using and how high of heat you are using).
- 12
Use the cold plate test to check set: take the pot of jelly off the heat (if you don't remove the jelly from the heat while you check the set it could over-cook and become rubbery or hard, if the jelly is indeed already set) .
- 13
Place a drop of the jelly mixture on one of the saucers you've kept in the freezer, & place the plate back in the freezer for 1 minute. After 1 minute, take the saucer out of the freezer and nudge the drop of jelly with your finger. If it "wrinkles" when you nudge it with your finger it is done. If the jelly is not set, continue cooking over medium-high heat, checking the set again every 5 minutes.
- 14
When the jelly is set, ladle it into sterilized canning jars, leaving 1/4" headspace. Wipe the rims of the jars with damp paper towels to remove any jelly which got on the rims or the threads. Place the lids and the bands on the jars, just tightening the bands fingertip tight.
- 15
Process in a boiling water bath for 5 minutes, then remove and let sit, undisturbed, for at least 12 hours before checking seals. It is important to let them sit undisturbed for 12 hours because the sealing compound on the lids is still cooling and hardening, completing the seal. While the jars cool, you will hear a "plink" type sound from each jar - this is the jars completing the vacuum seal as the final air escapes the jar. After 12 hours have passed, remove the bands and check the lids - press down in the center of the lid. If you cannot push the lid down any further, the jar is sealed. If the lid "gives" a bit, and you can push it down, the jar did not seal. You can either put the band back on the jar, and reprocess it for another 5 minutes, or you can just put it in the fridge and use it within 3 months.

The Prepka App Is Ready
All your recipes at your fingertips — in the Progressive Web App