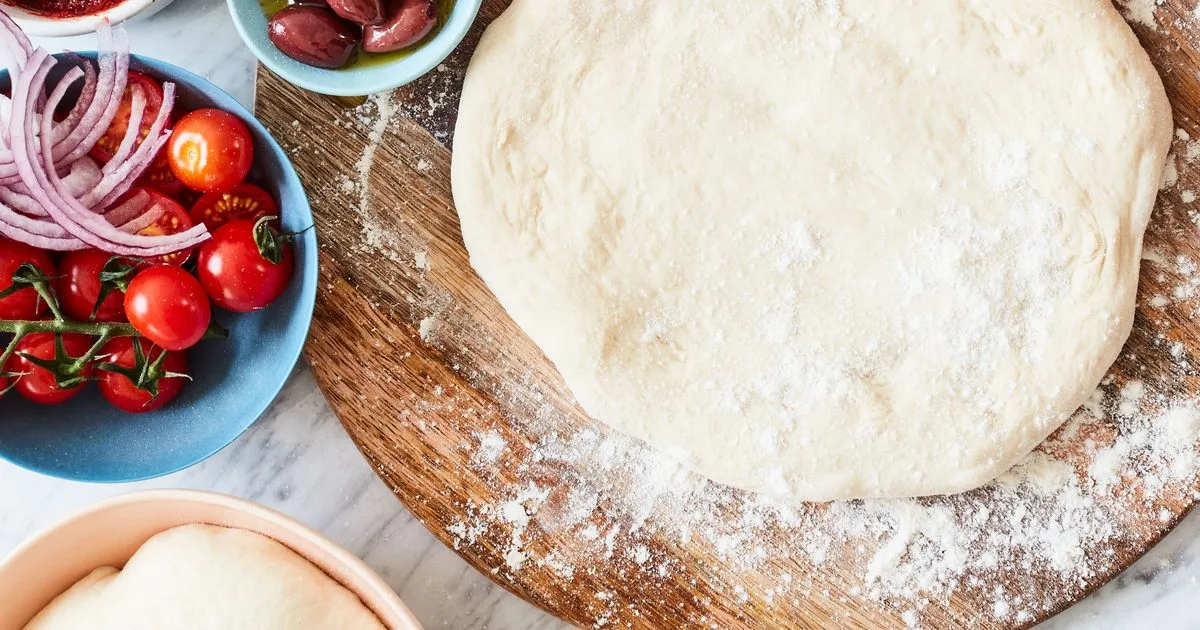
Italian Pizza Dough – Simple and Versatile
Per serving
Light, aromatic Italian dough that can be stored in the fridge or frozen, then shaped and baked in an oven or on a barbecue. Try it and you’ll understand why pizza becomes a true gastronomic event!
Ingredients
4 serv.Step-by-step instructions
- 1
The easiest way to make the dough is with a stand mixer fitted with a dough hook; if you don’t have a mixer, combine the ingredients in a bowl and knead on a work surface. Add the flour and salt to the bowl, and dissolve the yeast in warm water. After dissolving, wait 5 minutes to check the yeast’s activity – small bubbles should appear on the surface.
- 2
Turn on the mixer and pour in the yeast liquid. Work on medium‑high speed until the dough forms a ball. If it sticks to the bottom, add 1‑2 tbsp flour. Knead for 5‑7 minutes until the dough becomes glossy and springs back when pressed with a finger. Hand‑kneading takes about 10 minutes. Do not add too much flour—the dough should stay slightly sticky, which ensures lightness and good rise.
- 3
With oiled hands, remove the dough from the hook and bowl. Oil another bowl and place the dough in it, turning it so it is evenly coated with oil. Cover tightly with plastic wrap, then a kitchen towel. Put it in a warm, draft‑free spot and let it rise until its volume doubles. In hot weather this takes 2‑3 hours, in cold up to 4 hours. If you won’t use the dough within a day or two, transfer it to the refrigerator immediately; take it out 3‑4 hours before use, shape it and move it onto a flour‑dusted surface.
- 4
Divide the dough into 2 portions for large pizzas or 4 portions for individual ones, shape them into balls (see dough‑shaping tips below) and dust them with flour as they will be sticky. Keep the balls under a kitchen towel or plastic wrap for 20‑30 minutes while you prepare the toppings. Optionally freeze the balls in airtight bags; thaw them in the refrigerator on the day of use, and bring to room temperature 3 hours before baking.
- 5
To create airy pockets and a light yet crisp crust, avoid using a rolling pin—it flattens and destroys bubbles. Two days in the fridge produce the most bubbles; take the dough out 3‑4 hours before baking. If the dough is at room temperature, gently stretch it with your fingers. When the diameter reaches about 16 cm, hold it over the backs of your hands (not the palms) and stretch to 25 cm. You can already shape other bases, and do the final shaping before baking. Once you master stretching, experiment with shapes: rectangles, circles or squares—all look authentic.
- 6
A gas barbecue outdoors is best for temperature control, but charcoal gives the pizza a more authentic smoky flavor. When using gas, reduce the flame to medium‑low so the pizza base doesn’t burn. When cooking over charcoal, wait until the coals turn gray before placing the pizza.
- 7
Place the pizza on a flour‑dusted rimless pan or a pizza peel—a flat tool with a long handle that makes it easy to move the dough onto and off the grill. The flour acts as “rollers,” allowing the dough to slide; do not use oil, as it will stick and conduct heat poorly.
- 8
Make sure the grill is hot and the flames have died down if cooking over charcoal. Slide the dough onto the grill, close the lid (if available) and cook for 3‑4 minutes. The dough will rise; it’s done when the bottom shows light‑brown streaks. Use tongs to lift the dough and flip it over.
- 9
Assemble the pizza to your taste—see the “Finishing the dish” section for topping suggestions. Remember, less is more: the crust stays crispier and the toppings bake better.
- 10
Place the pizza back on the grill, uncooked side down, close the lid and cook another 3‑4 minutes until the cheese melts and the toppings are heated through.

The Prepka App Is Ready
All your recipes at your fingertips — in the Progressive Web App